
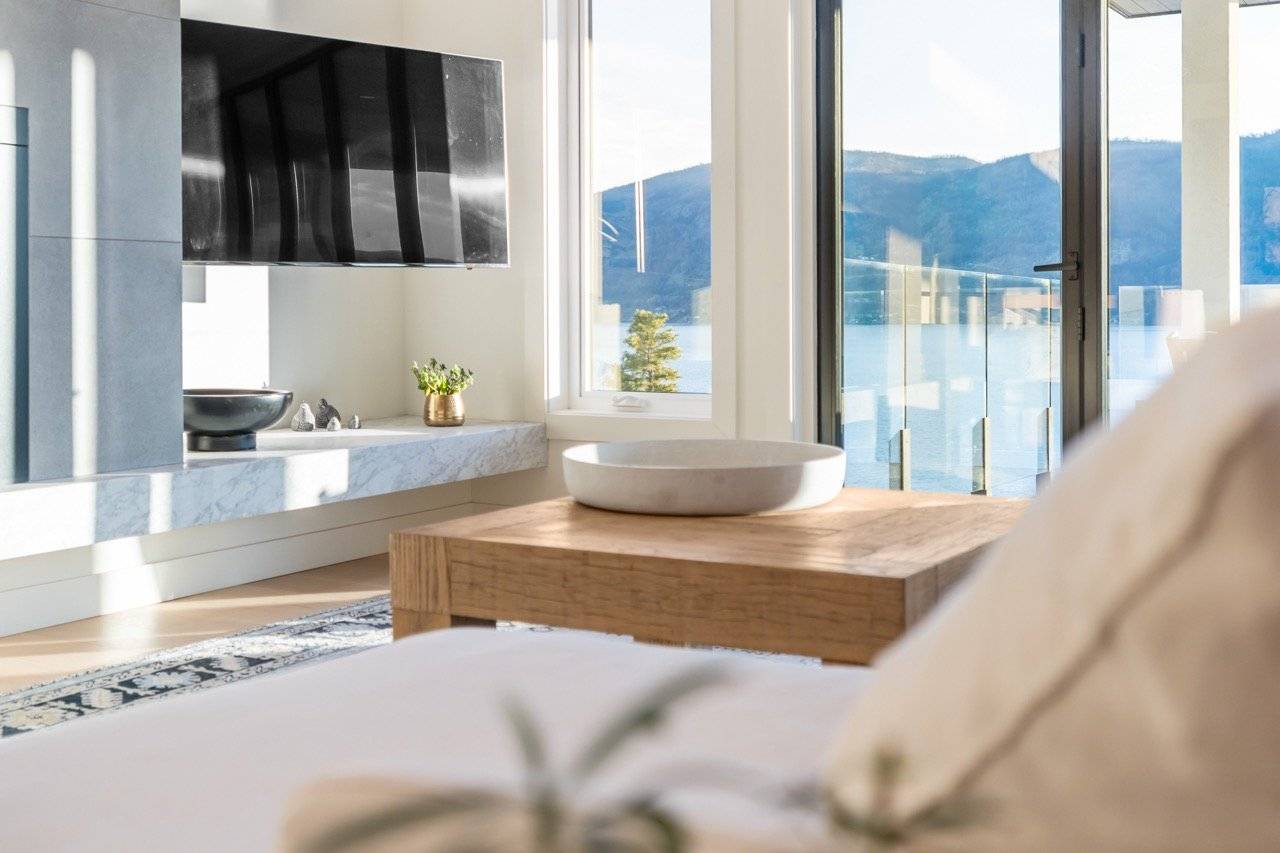
The difference between a listing that gets showings and one that sits often comes down to one thing: how well the property was prepared before the photographer arrived. After 300+ shoots across the Okanagan, we’ve seen firsthand how preparation directly affects sale price and time on market.
1. Declutter Every Room
Clutter competes with your home’s features for attention. Remove excess furniture, stacks of mail, pet items, kids’ toys, and anything on countertops that doesn’t belong there. A good rule: if you’re planning to pack it eventually, pack it now.
2. Deep Clean Everything
The camera is unforgiving. Fingerprints on appliances, water spots on mirrors, and smudges on windows all show in high-resolution photos. Clean as if you’re having the most important guests of your life visit.
- Clean all windows inside and out
- Wipe down kitchen appliances and countertops
- Clean mirrors, shower doors, and bathroom fixtures
- Dust shelves, ceiling fans, and baseboards
- Vacuum and mop all floors
3. Maximize Natural Light
Open every blind and curtain fully. Replace burnt-out bulbs and ensure all lights work. Light makes spaces look larger and more inviting — it’s the single biggest factor in how your photos feel.
4. Stage Each Room with Intention
- Make all beds neatly with decorative pillows
- Put out fresh white towels in bathrooms
- Add a simple centrepiece to the dining table
- Remove personal photos and polarizing decor
- Put away pet beds, food bowls, and litter boxes
5. Prepare the Exterior
- Mow the lawn and trim hedges
- Sweep the driveway and front entrance
- Remove garden tools, hoses, and garbage bins
- Move all vehicles out of the driveway
6. On the Day of the Shoot
Have the home fully prepared before your photographer arrives. Turn on all lights, open all blinds, and arrange for pets to be out of the home. Budget at least 2–3 hours for preparation that morning.